As discussed in a recent post on our hotel marketing blog, Pinterest has caught the attention of marketers and is already beginning to make waves in the travel industry. It goes without saying that there are some huge potential benefits to having your resort represented on the net’s fastest growing social media site. Here’s how to get started.
Sign Up
As it stands, Pinterest is “invite only.” To sign up, you need to either click on the red “Request an invite” button on the Pinterest website and enter an email address, or ask a friend who’s already on board to send you an invitation. Your invitation will arrive with a link; click on it and you’ll be asked to use either your Twitter or Facebook account to sign in. The profile image from your resort’s Twitter or Facebook profile will become your Pinterest account image, but you will need to create a separate account name, password and link an associated email address.
Pick Your Topics of Interest
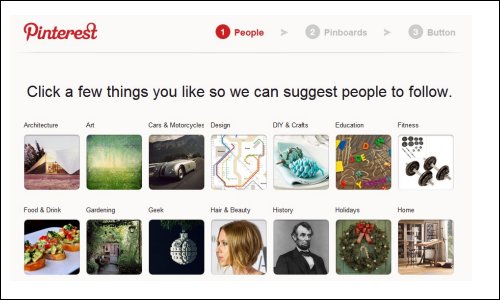
When you sign in for the first time, you’ll be asked to choose a few topics of interest so Pinterest can suggest the kind of users you might like to follow. Choose some topics from the 28 categories, then hit the blue “Follow People” button to start following people and businesses related to your topic selection.
Create Boards
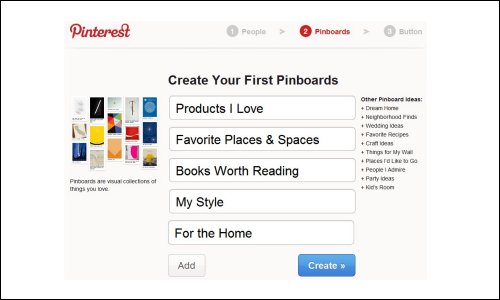
You’ll then be presented with a choice of standard pinboards to pick from, including “Products I Love”, “Books Worth Reading” and many more. To create your own, click the “Add” button and type in a custom name of your choosing. These will be the Boards that you ‘pin’ pictures to.
You can add as many Boards as you like. It’s also possible to edit the Board titles or delete them completely. Next, allow other Pinterest members to interact with your content by clicking “Edit” at the bottom of your Board. Select the “Who can pin?” option and switch from “Just Me” to “Me + Contributors.” You need to follow a minimum of one Board by another Pinterest member before you can add him or her to your list of contributors.
Start Pinning
After you’ve created a few Boards, you’ll be asked to install the “Pin It” bookmarklet in your browser’s bookmarks bar. Whenever you find an image on a website you would like to add to one of your Boards, click the Pin It button and Pinterest will load a grid of thumbnails displaying all the images on the website that are available to pin.
Hover over your selected image and hit the “Pin This” button to pin to your Board. You’ll then be asked to select the Board you want to pin the image to from a menu of all the Boards connected to your Pinterest account. Choose the appropriate Board, type in an image description and click the red “Pin It” button. A pop up will appear to confirm your pin and give you the option to share it via Twitter or Facebook.
Social Sharing
Next, it’s time to get involved with the all important “social-sharing” aspect of the site that has marketers so excited. Use the search bar in the top left corner to search on keywords of interest – you can filter your results by choosing “Pins” “Boards” or “People.” You can choose to follow individual Boards, or all the Boards created by a Pinterest member you’re particularly interested in.
You can show your appreciation for an individual image using either the Facebook Like button at the side of the page or Pinterest’s own Like button and you can tweet the image to your followers or even “Repin” the image to one of your own boards.
Those of you that already have a Facebook, Twitter or Google + account for your resort should get into the swing of Pinterest very quickly.
Pinterest’s clever mix of social sharing and visual blogging has won it approximately 13 million users worldwide and its membership base is growing daily. Sign up today and see what this much hyped visual platform has to offer your resort.